Physical Address
304 North Cardinal St.
Dorchester Center, MA 02124
Physical Address
304 North Cardinal St.
Dorchester Center, MA 02124

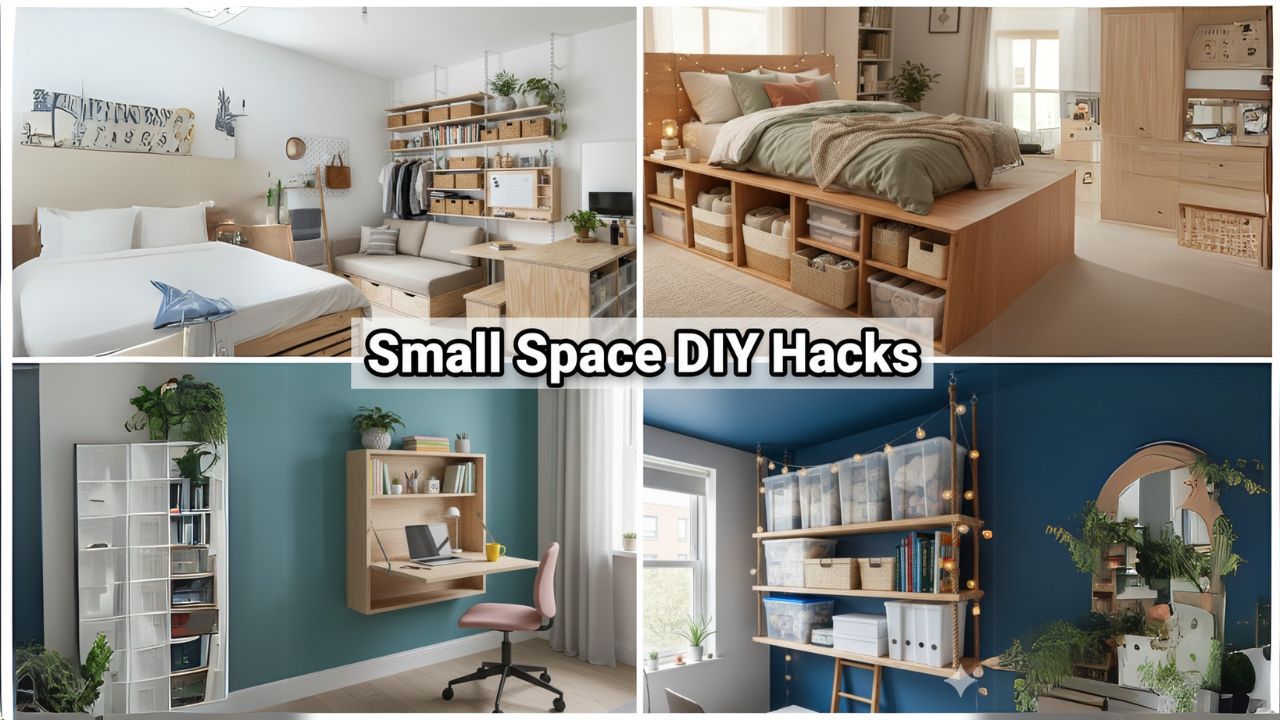
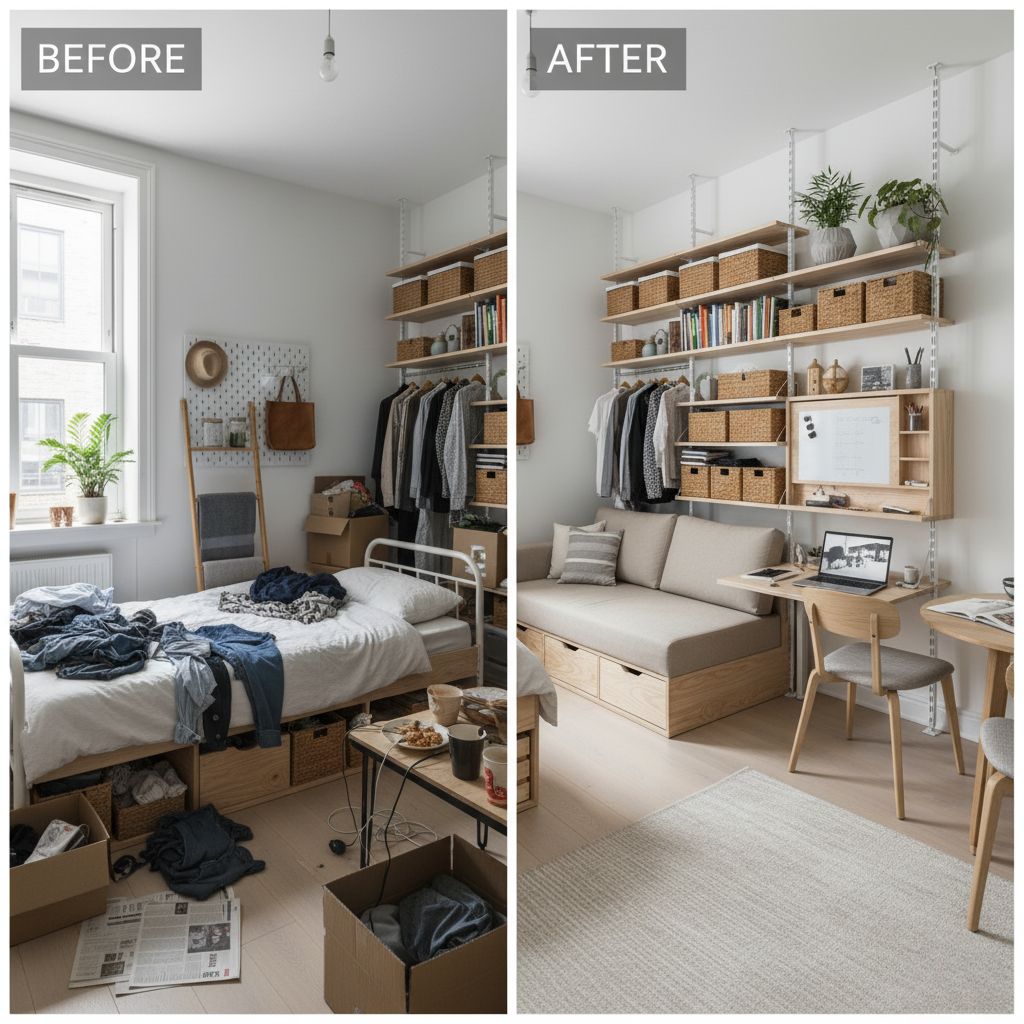
Living in a small space doesn’t mean sacrificing comfort or style. With clever DIY solutions, you can maximize every square foot while keeping your budget intact. Whether you’re in a studio apartment or working with a cramped garage, these practical ideas will transform your space without breaking the bank.
Let me share something interesting – last year, I helped my sister transform her 400-square-foot studio into a functional home that feels twice its size. The total cost? Under $500. That’s the power of smart DIY solutions.
DIY small space solutions are creative, budget-friendly techniques and projects you can implement yourself to maximize limited square footage. These range from simple organizational hacks to furniture modifications that serve multiple purposes.
Think of it this way: instead of buying expensive custom furniture or hiring contractors, you’re using ingenuity and basic tools to create exactly what your space needs.
Quick Answer: Small spaces demand creativity because every inch counts, and traditional furniture often wastes valuable room with single-purpose designs.
Living in tight quarters presents unique challenges:
However, with the right approach, these challenges become opportunities for innovation.
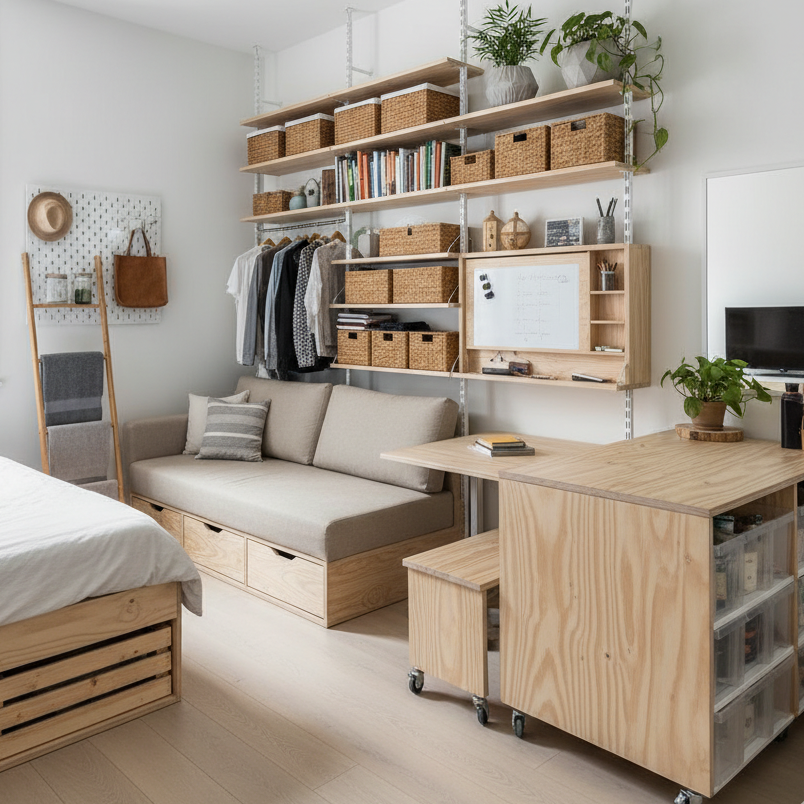
Going vertical is your secret weapon. Install floating shelves from floor to ceiling – you’ll gain 15-20 square feet of storage without losing floor space.
Materials needed: Wall brackets ($20), wooden boards ($30-50), screws, and a drill. Total investment under $75.
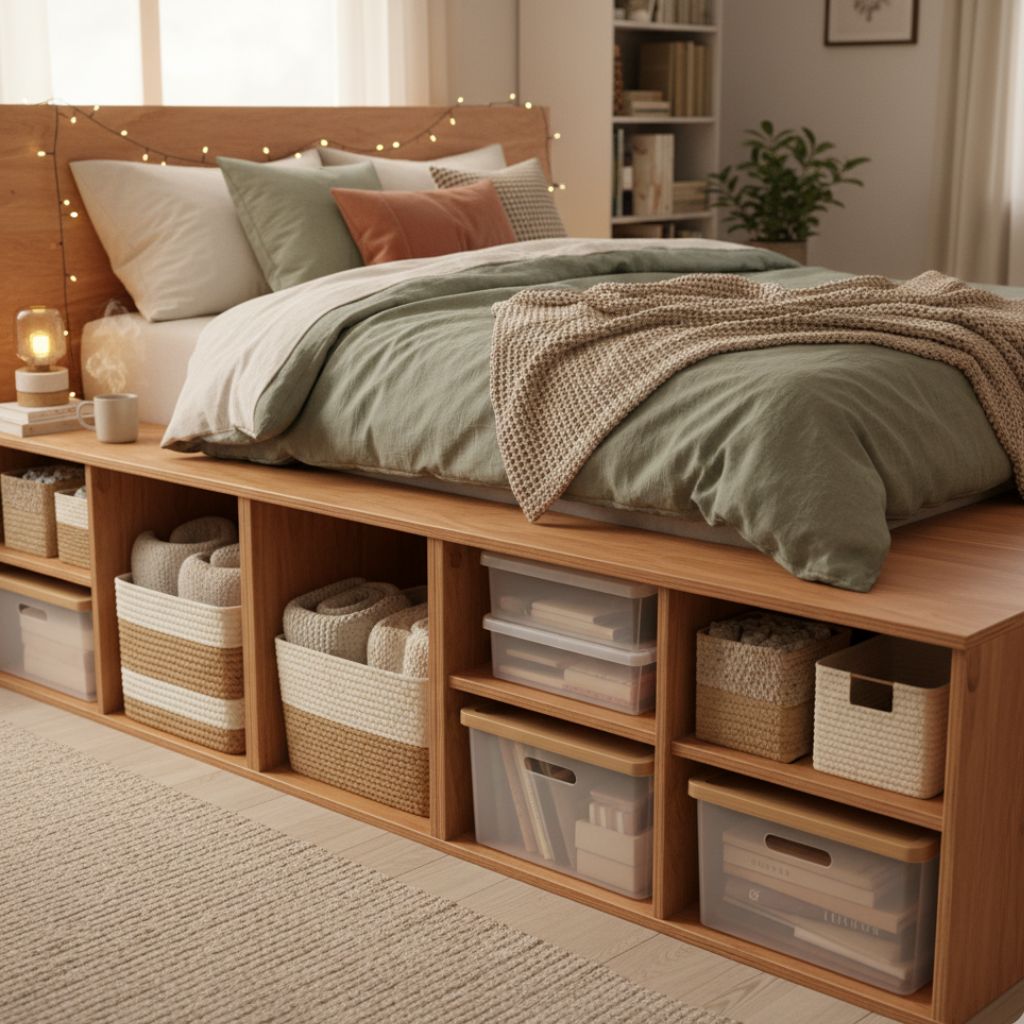
Transform that dead space under your bed into a storage goldmine. Build rolling drawers using plywood and caster wheels.
Pro tip: Add dividers for better organization. This single project can store an entire season’s worth of clothing.
Convert a simple storage ottoman into seating, storage, and a coffee table. Or better yet, build a platform bed with integrated storage cubes.
Remember, when choosing DIY shelving ideas for small apartments, always measure twice and build once.
Pegboards aren’t just for garages anymore. Install them in kitchens, bathrooms, or home offices for customizable storage that adapts to your needs.
Cost: About $30 for a 4×4 pegboard system with hooks and accessories.
Look up – that’s free real estate! Ceiling-mounted bike racks, pot hangers, or pulley systems keep items accessible but out of the way.
Corners are often wasted space. Build triangular shelves or install corner floating shelves to maximize these awkward areas.
Replace swing-out doors with sliding barn doors. You’ll save 10 square feet per door – that’s huge in a small space.
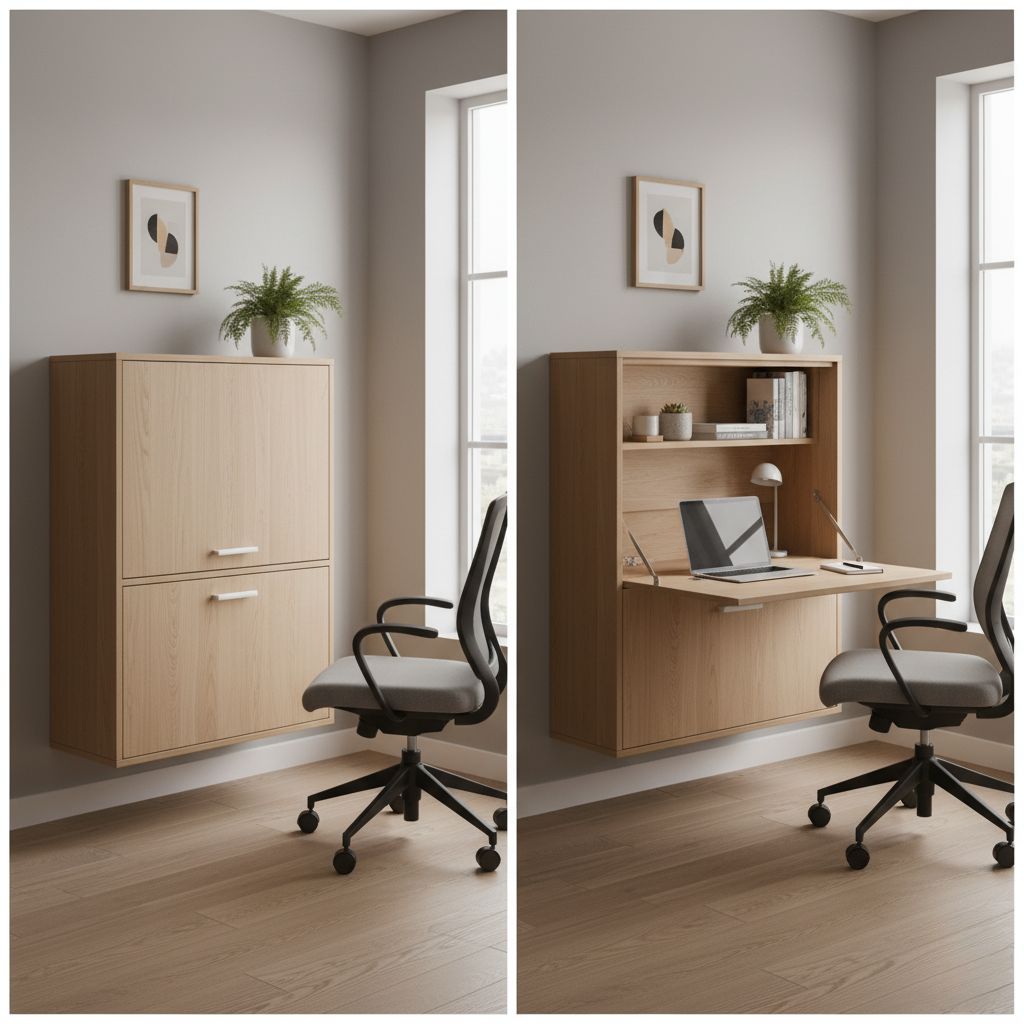
Wall-mounted fold-down desks provide workspace when needed, then disappear when you don’t. Perfect for remote workers in studio apartments.
Strategic mirror placement doubles visual space. Install floor-to-ceiling mirrors on one wall to create the illusion of a larger room.
Build your own modular storage system using wooden crates or cube organizers. Stack, arrange, and rearrange as needed.
Let’s walk through creating a fold-down desk that takes up zero floor space when not in use.
Materials Needed:
Steps:
Total time: 2-3 hours. Total cost: Under $50.
Transform your tiny bedroom into a cozy retreat. Install wall-mounted nightstands to free up floor space. Use over-door organizers for accessories. Consider a loft bed if ceiling height allows – you’ll double your usable space instantly.
When dealing with temperature control, investing in the best small space heaters or best small space air conditioners ensures comfort without cluttering your limited floor area.
Magnetic knife strips, ceiling-mounted pot racks, and pull-out cabinet organizers work wonders. Install a fold-down breakfast bar against a wall for dining that disappears when not needed.
Don’t forget vertical dividers in cabinets – they’ll double your storage capacity for cutting boards and baking sheets.
Over-toilet storage units, shower caddies, and magnetic strips for small metal items maximize every inch. Build a simple vanity shelf above your sink using a wooden board and brackets.
Choose furniture that serves double duty. Storage ottomans, nesting tables, and wall-mounted TVs free up precious floor space. Create zones using rugs instead of furniture to define spaces.
For ambiance without taking up space, explore smart lighting for small rooms – the right lighting can make your space feel larger and more inviting.
Pros:
Cons:
Even with the best intentions, it’s easy to make mistakes. Here are common pitfalls:
Overcrowding vertical space makes rooms feel cramped. Leave breathing room between shelves.
Ignoring weight limits can lead to disasters. Always check load-bearing capacity, especially for wall-mounted solutions.
Buying before measuring wastes money and time. That perfect organizer won’t help if it doesn’t fit.
Forgetting about accessibility renders storage useless. If you can’t easily reach it, you won’t use it.
Here’s exactly how to allocate your budget for maximum impact:
This investment can effectively double your usable space. Compare that to moving to a larger apartment, which could cost hundreds more per month.
My friend Jennifer lived in a 380-square-foot studio in downtown Seattle. Her monthly rent was $1,400, and upgrading to a one-bedroom would cost $2,100.
Instead of moving, she spent one month and $400 implementing DIY solutions. She built a room divider bookshelf, installed ceiling storage, and created a Murphy bed/desk combo.
The result? Her studio now functions like a one-bedroom, saving her $8,400 annually. Plus, her landlord was so impressed, he didn’t raise her rent at renewal.
This proves that smart DIY solutions aren’t just about organization – they’re about financial freedom.
Don’t forget about your garage or storage areas. These spaces often become dumping grounds, but they have massive potential.
Start with vertical wall systems using slat walls or pegboards. Add ceiling-mounted storage for seasonal items. Build a simple workbench that folds against the wall.
For comprehensive garage transformation, check out how to fix garage storage in tight spaces – proper garage organization can add hundreds of square feet of functional storage to your home.
Your DIY solutions need regular care to last:
With proper implementation, DIY solutions can make your space feel 30-50% larger. Vertical storage alone can add the equivalent of 20-30 square feet of floor space to a small room.
Basic tools include a drill, level, measuring tape, screwdriver set, and stud finder. You can complete 90% of projects with just these tools, representing about a $100 investment that pays for itself with your first project.
Absolutely! Most solutions are renter-friendly. Use command strips instead of nails, choose freestanding units over built-ins, and focus on furniture modifications rather than structural changes. Always check your lease and photograph existing conditions before starting.
Well-built DIY solutions last 3-5 years with normal use. Wall-mounted shelves and solid wood projects can last decades. The key is using quality materials and proper installation techniques – don’t skimp on wall anchors or support brackets.
Starting too big. Begin with simple projects like installing floating shelves or organizing a closet. Build your skills and confidence before tackling complex builds like Murphy beds or custom cabinetry. Success breeds success, and small wins motivate bigger projects.
DIY solutions for small spaces aren’t just about saving money – they’re about taking control of your living environment. With creativity, basic tools, and a weekend of work, you can transform any cramped space into a functional, organized home.
The best part? You don’t need to be a master carpenter. Start small, learn as you go, and soon you’ll look at every small space as an opportunity rather than a limitation.
Remember, every mansion started as a small space in someone’s imagination. Your tiny apartment or cramped house has the same potential – it just needs your creative touch to unlock it.
Whether you’re dealing with a studio apartment, a tiny bedroom, or a cluttered garage, these DIY solutions provide the blueprint for transformation. Pick one project this weekend, gather your materials, and start creating the space you deserve.
After all, the size of your space doesn’t determine your quality of life – how you use it does.
